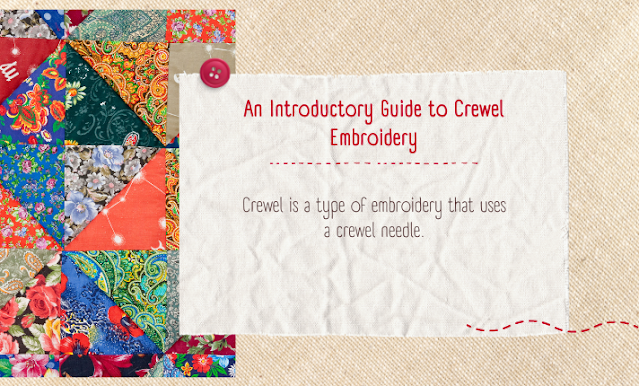
An Introductory Guide to Crewel Embroidery
I’ve been a bit quiet on the blog lately, but that doesn’t mean I haven’t been busy! In fact, it means just the opposite. I have been busy creating and learning new things – including some really cool embroidery techniques. So today I thought I would share with you one of my favorite ways to learn something new: by making your own embroidered fabric.
I know what you are thinking… “That sounds like fun! But how do I make my own embroidery?” Well, let me tell you. It’s actually pretty easy. And if you want to learn more about crewel embroidery, then this video tutorial is for you.
The first thing you need to do is choose a design that you love. If you don’t already have a design in mind, there are several free patterns available online that you could try out. The key here is to find a pattern that fits well within your skill level. For example, if you are completely new to embroidery, start with simple designs such as flowers or animals. As you gain experience, you will be able to tackle more complex designs.
Next, you need to decide which type of thread you would like to use. There are many different types of threads available, each with their own unique properties. Some threads are better suited for certain projects than others. For example, cotton thread tends to be softer and less durable than silk thread. However, cotton thread is much easier to work with because it has fewer knots and tangles. Silk thread is very smooth and soft, but it is also quite slippery and difficult to knot. Once you have decided which kind of thread you would like, you should consider whether you prefer a solid color or a multi-colored thread. Solid colors tend to look cleaner and crisper, while multi-colored threads create a more interesting effect.
Tools and Materials used in crewel embroidery
Now that you have chosen your design and thread, you are ready to get started. First, you will need to prepare your fabric. To do this, simply cut a piece of fabric approximately 8 inches wide and 24 inches long. Next, fold the fabric over so that the right side is facing up. Then iron the fabric flat. Finally, trim off any excess fabric around the edges.
Now that you have prepared your fabric, it is time to start stitching! All you need is a needle (a sewing machine works great), scissors, and a hoop. Start by placing your fabric inside the hoop. Make sure that the fabric is centered and straight. Then take your needle and thread through the center hole of the hoop. Tie a knot at the end of the thread.
Now it is time to begin stitching. Hold your needle down firmly against the fabric and pull back slightly. Keep pulling until you reach the edge of the fabric. Then push the needle forward into the fabric again. Continue alternating between pushing and pulling until the entire length of the fabric is stitched. When you are finished, remove the hoop from the fabric and tie off the ends of the thread.
After you have completed your embroidery project, you may want to frame it. Simply place the embroidered fabric face down onto a sheet of glass using double sided tape. Then wrap clear packing tape around the sides of the glass. Finally, apply a coat of spray adhesive to the back of the glass.
How to Use Crewel embroidery
Crewel is a type of embroidery that uses a crewel needle. It's also known as crewel stitch, and it was originally used for cross-stitch. Today, crewel is mostly used in making appliqué pieces. In order to make a crewel embroidery, you'll need to buy some supplies. These include:
Crewels - A set of crewels consists of three sizes: No. 10, No. 12, and No. 14. The larger numbers correspond to smaller stitches, while the smaller numbers represent larger stitches.
Needle - A crewel needle is similar to a regular embroidery needle except that its point is shaped differently. It has a blunt tip instead of a sharp one.
Thread - Threads come in various weights, thicknesses, and colors. The most common weight is light worsted wool. Other popular choices include linen, cotton, and silk.
Embroidery hoops - An embroidery hoop is a device that holds fabric taut while you sew. They usually have two parts: a base and a lid. The base is where you insert your needle and thread. The lid fits snugly over the base and keeps the fabric taut. Some embroidery hoops have clips that hold the fabric in place. Others have rings that keep the fabric tight.
Embroidery scissors - Scissors are essential when cutting out designs. Be careful not to cut yourself with these tools.
Double-sided tape - Double-sided tape is useful for holding things together like fabric and paper. It comes in many different types including masking tape, painter's tape, and duct tape.
Clear packing tape - Clear packing tape is ideal for wrapping items such as frames, boxes, and canvases. It is also good for protecting delicate surfaces.
Spray adhesive - Spray adhesive is useful for adhering materials such as fabrics, papers, and canvas.
Comments
Post a Comment